4 Ways to Record Audio from Computer
Here are the best tools for recording computer audio:
Movavi Screen Recorder – a desktop recording app
Screen Capture – an online tool
Audacity – audio-editing program
Want to know how to record computer audio? Here, we’ll review different recording apps, including an online screen recorder, desktop programs, and a built-in tool.
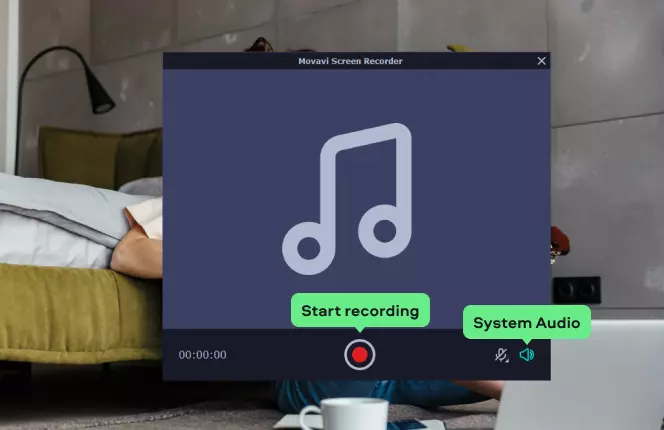
How to record sounds from a computer with Movavi Screen Recorder
Best for: screen recording and simple editing
OS:
Windows, Mac
4.5 out of 5 stars, 49 reviews
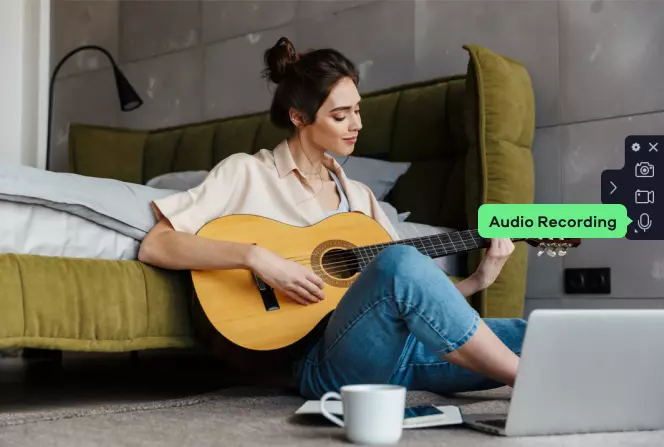
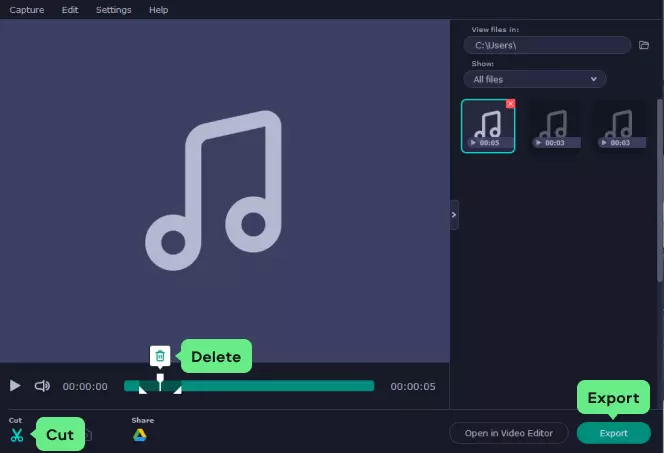
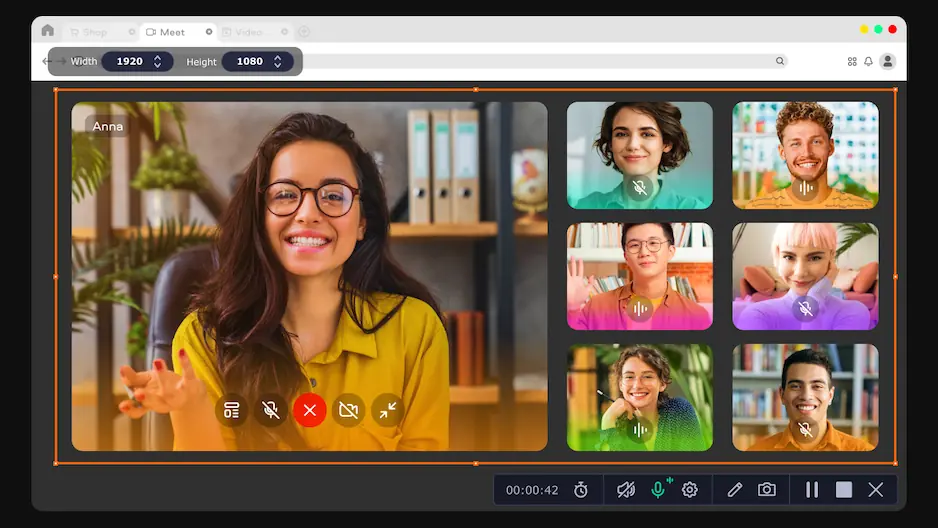
Movavi Screen Recorder is a desktop app that can help you record audio from a PC. This easy-to-use recording app can capture any kind of audio on your computer – music, microphone sound, audio from a live stream, etc. The recorder can also grab your screen and webcam. The program also lets you do basic editing – trimming and cutting out unnecessary fragments.
Features:
Pros:
Simple interface
Basic editing tools
Option to schedule a recording
Cons:
Only one audio format for export
The free version has limitations
Here’s how to record sound from a computer with Movavi Screen Recorder.
Step 1. Download the computer audio recorder
Download the installation file for your OS, install the program, and launch it.
Step 2. Record PC audio
Click the Audio Recording button on the sidebar.
Make sure the System Audio button is activated, and the microphone audio capture is turned off. Hit Start recording. Stop the recording when needed.
Step 3. Save the recording
Now, you can trim your audio or cut out unnecessary fragments. Use the scissors tool to make cuts and delete the parts you don’t need. Click Export, choose the output folder, and click Save.
How to record computer audio online with Screen Capture
Best for: making fast recordings on-the-go
OS:
any (web-based)
4.8 out of 5 stars, 2,087 reviews
Let us introduce you to Screen Capture – an online app that records PC audio for free. It’s one of the easiest and fastest ways to record sound from a PC or laptop. Whether you need to capture output from speakers, video playback, or internal audio coming from your computer, you can easily do it online for free.
The grabber has a simple interface that is comfortable to work with. You can record screen and audio simultaneously or separately. Webcam recording is also supported.
Features:
Audio and video capture
Option to capture a certain window or browser tab
HD recording
Pros:
You don’t need to install any software on your computer.
The service has an easy-to-use interface and clear settings.
It provides high-quality output files.
Cons:
No audio editing tools
No choice of output formats
Watermark on the video in the free version
Here’s a short guide to how to record audio from a computer online.
Step 1. Open Screen Capture to record computer sounds
Open the app in your browser to record sounds from the computer.
Step 2. Set up audio recording and record system sound
To record the audio playing on your computer, enable the Sound icon. If you need to capture sound from your speakers or microphone, activate the Microphone icon.
Press the Start Recording button to grab the audio playing. Allow access to your microphone and webcam. Your privacy will be quite secure!
Choose the tab to start recording.
Step 3. Save the file
When you’re done, download the recording from the website directly to your computer. All your files are confidential to you. Nobody can see your recordings except you.
You can also check out our desktop audio recorder and use advanced settings to record system audio.
How to record sounds from a computer with Audacity
Best for: professional sound recording and audio editing
OS:
Windows, Mac, Linux
4.5 out of 5 stars, 380 reviews
The next on our list of the best ways to grab your PC sound is Audacity. It’s a free program that grabs internal audio on macOS, GNU/Linux, Windows (including Windows 7), and other operating systems.
Features:
Multitrack timeline
Audio effects
Spectrogram view mode
Pros:
It offers advanced audio editing tools and many audio effects.
It has a wide range of output formats, including MP3.
The program is absolutely free of charge.
Cons:
Challenging interface with a daunting number of settings
No screen or webcam recording
Sometimes audio effects can spoil the sound quality
Now we’ll show you how to record desktop audio with Audacity.
Step 1. Download the system audio recorder
Go to the Audacity website and download the program onto your computer.
Step 2. Choose the settings and record the audio
Before you start recording, you need to choose the appropriate settings. The main parameters are audio host and loopback device.
If you’re recording sounds on Windows, you need to choose Windows WASAPI audio host. In the loopback device menu, choose Stereo Mix to grab internal audio.
When you’re done with the recording parameters, hit the Record button.
Step 3. Save the recording
If you want to add effects, you can do this right after recording. But we recommend you save the file first.
Open the File tab and select the Save Project option. Now export the file to your hard disk and continue audio editing. Even if something goes wrong, you’ll have an audio copy on your computer.
How to record audio on a PC with a built-in Windows tool
Best for: simple audio recording on Windows
OS:
Windows
The last option we’d like to suggest is the built-in Windows tool – Windows Voice Recorder. It’s the easiest way for Windows users to grab external sounds. You just need to check the computer microphone accessibility and capture your voice.
But the tool only works for microphone recording. It doesn't capture internal audio playing on your computer.
Features:
Trimming tool
Sharing via Microsoft services
Pros:
Simplicity and fast accessibility
No installation
Can be used offline
Cons:
No internal audio recording
No audio editing tools
Here’s how to record audio on a computer with the built-in Windows app.
Step 1. Check your microphone
First of all, check that your microphone is turned on. Open the system settings and go to the Input tab. Here you need to choose your microphone from the drop-down menu and set the volume.
Step 2. Open Windows Voice Recorder
Launch the Start menu and search for Windows Voice Recorder using the search bar. Click on the program icon to open the app.
Step 3. Make your audio recording
You’ll see the microphone icon on your screen. Hit it and start speaking. Be close to your microphone to get clear sound.
When you’re done, stop recording. The file will be automatically saved to the Sound Recordings folder.
Conclusion
Can’t decide which tool to use? The factors below will help you choose the right recorder.
Features: If you only want to record audio, almost any recording app will do the job. But if you also want to edit your recording, make sure the app includes the necessary editing tools. If it’s important for you to export a recording in a certain format, check out the supported output formats.
Interface: Some programs might have a confusing interface, so try to find an app that is easy to navigate.
OS: Make sure the app you’ve chosen is compatible with your OS.
Support: It’s a great advantage if a program includes technical support for users.
Join for how-to guides, speсial offers, and app tips!
1.5М+ users already subscribed to our newsletter